

Daddyjt
-
Posts
6,959 -
Joined
-
Last visited
-
Days Won
252
Content Type
Forums
Events
Articles
Downloads
Gallery
Store
Everything posted by Daddyjt
-
Aw man… this one hurts. Beyond a great actor, just an overall great human being… never caught up in Hollywood drama or BS - just a class act. Perhaps my favorite film of his is Lone Wolf Mcquade, but right on its heels would be Forced Vengeance. So many great action films from my childhood:-( Perhaps the most fitting eulogy for Mr Norris are the jokes, so here are a few of my favs: Chuck Norris doesn’t do push-ups, he bench-presses the earth… How many push-ups can Chuck Norris do? All of them… If Chuck Norris had been on the Titanic, the iceberg would have sank in the ocean… The boogeyman checks under his bed at night for Chuck Norris… Chuck Norris doesn’t swim - the water pushes him along out of fear… Rest in peace sir - you will be missed…:-(
-
Welcome aboard. I am also in UT (Layton area), and happy to help by way I can…
-
In retrospect I fear that my critique of the Infinity sound may come across as a bit more derogatory than I intended. It was not my intent to disparage the brand or the sound. I can’t stress enough that it was MY TASTE that changed. The Kappa 9 served me well for a number of years, and I derived much pleasure from them. In fact, it caused me significant anguish to part-out my last pair. However, I did take comfort in knowing that the process likely revived/repaired several other pair, allowing them to soldier on. My bafflement at @Sk1Bum looking to move on from his NHTs is probably similar to other’s bafflement at my feelings towards Infinity - but then we all know Dick is a bit crazy, so that explains a lot;-)
-
There was a time not too long ago (10-12 years) that I was flat out in love with the “Infinity sound”. I had acquired two pair of Kappa 9, and I thought I was set for life. Then, gradually over time, I grew to detest the infinity sound. Both pair of Kappa 9, a pair of Kappa 8 and a pair of Kappa 6 (the 8&6 at friends homes) all sounded hash in the highs, chesty in the mids, and boomy in the bass. i know the speakers didn’t change, but rather my taste changed. I gave one pair of the Kappa 9 to a dear friend, and after several listings (going as low as $800) I parted out the remaining pair for about $1,800 total. at this moment I cannot imagine a better speaker than the 3.3 for 2ch music - it just does everything right…. For me, and for NOW. Will my taste change again? I doubt it, but who knows…
-
Yes, it is!
-
I’ve been in a bit of a nostalgia kick lately, mostly because Hollywood isn’t churning out much to be excited about lately. Anyway, I saw one of my childhood favorites as I was scrolling through Prime a couple weeks ago, then I saw a remastered box set in a really cool music/movie store in Portland called Music Millennium (I was in Albany working all week, and when I flew out of Portland Friday I stopped at the closest record store to the airport). When I saw the remastered box set of Capricorn One, I took at as a sign. The film came out in 1978, and stars James Brolin, a very young Hal Holbrook, Elliott Gould and OJ Simpson. The plot is a failed mission to Mars, where the astronauts are forced to fake the video and radio footage. It’s aged beautifully in today’s conspiracy theory world, and the stunts and effects have a wonderful non-CGI realism that I’m loving more and more the older I get. As a bonus, there are a few scenes with the gorgeous Karen Black that are witty and wonderfully playful, that I don’t think would ever be shot the same way today. Unfortunately the video presentation was the only thing remastered (up to 1080p), as the audio is 2ch mono. Honestly, 10 minutes into the film, I didn’t even notice the mono. It’s a 2 disc set, theatrical and extended cut, with some nice extras. This is a fantastic film that feels like it could have been shot 10 years ago, and highly worth your time if you like a good conspiracy thriller…

-
I get that, and my comment was in no way intended to imply that I believe the depiction to be 100% accurate or all-encompassing. Just like the opening scene of Saving Private Ryan is not 100% what it was like to land on the beach in WWII, Goodfellas is not 100% what it’s like to be in the mob, The Big Lebowski is not a 100% accurate depiction of stoner-life in LA… I do nevertheless enjoy the “peek” into these lives/events, and I think there is at least a kernel of truth to the depictions portrayed in Landman…
-
Just wrapped up season 2, and Landman is now officially the best TV show I’ve ever seen - better than The Sopranos, Lost, Game Of Thrones, Breaking Bad… All of them. Sheridan definitely has a gift for writing compelling characters and giving them intriguing arcs. I also enjoy the unfiltered look at the oil business. The only thing I hate about Landman is the fact that I have to wait 9 months for season 3:-(
-
It looks like Oppo’s replacement may finally be here - Marnetar. Everything I’ve read about them is positive. The 8000 uses Burr Brown DACs, and the 9000 uses ESS. Plays every disc format known to man, great build quality… https://magnetar-audio.com/elementor-4530/
-
We did our annual Die Hard watch last night - first time in 4k. What a great film! Never seems to get old, no matter how many times I watch it. thanks for the kind words @PhilDent - the four (4) subs really do add quite a bit to the experience. Not just big explosions, but punches and kicks and slamming car doors… Movie bass definately makes me smile:-)
-
Thanks for the kind words my friend. During Tim’s visit, we sat down in the theater room for a quick demo. I put in the 4k disc of the new Brad Pitt movie, F1. What was going to be a quick demo turned in to watching the entire movie…:-)
-
I was discussing my bass journey and current status of my HT on a popular home theater forum when something kinda weird happened. A guy named Scott Newbey chimed in. He’s a self-proclaimed “bass expert” with a cult following similar to Amir’s over on ASR. Anyway, this Scott guy commented on my system and said that I could get way more bass with just a dual 18” ported sub from GSG, pairs with a Crown amp, and that I was “wasting my time with sealed subs in a home theater”. i replied tactfully and directly that I wasn’t looking for “the most” bass, but rather “the best” bass. This didn’t sit well with the bass guru, and he marshaled his minions to his defense. I don’t really care, and I am a firm believer in the accuracy and speed of sealed subs. Sure, ported subs have prodigious output at the tuned frequency, but well designed sealed subs just make me smile at all low frequencies….
-

Just a simple introduction to the "Old Man"
Daddyjt replied to Old Man's topic in The Welcome Shop (Please read first)
Welcome. We’re almost all old(ish) guys here, so you’ll fit right in! -
Ah, Polk LS70s - my first “real” pair of speakers, bought new from Broadway Music in downtown SLC about 1995. They were in my first home theater (such as it was), and then when they were displaced by Klipsch RF7s, they served in my family room system until about 2018. I just recently sold them to a kid on the local classifieds for $100. They were a little rough cosmetically, but still sound great - he was thrilled, as he’s starting a family and tight on money. He’s actually texted me a few times, saying how much he loves them. welcome to the site!
-
Greetings from Wild, Wonderful WV
Daddyjt replied to mwc951's topic in The Welcome Shop (Please read first)
I have worked on (and purchased) equipment that has been restored/refreshed by “other” techs, two pieces of which came with invoices. I will tell you flat out that not only were the prices WAY out of line, the actual work done did not align with the invoice. Greg at Nelion will do exactly what he claims, and at a fair price. Further, there is no tech currently that understands Bob’s designs better than Greg. -
New to the site and to Carver m500
Daddyjt replied to clstuff's topic in The Welcome Shop (Please read first)
I have owned, upgraded and repaired a number of Carver M 500(t) amplifiers. It is, dollar for dollar the best value in Carver amplifiers, in my opinion. They sound wonderful, are quite reliable, easy to work on, and have a beautiful aesthetic. Perhaps their only (minor) Achilles Heel is low impedance loading. Even that though is very limited, as the only speaker I ever had thermal issues with while using a 500t were my Infinity Kappa 9 (notorious amp killers), and even then, the thermal protection did its job, and spared the amplifier any damage. i am currently running a pair of 500t MKII amplifiers in my home theater for L/R/C duty…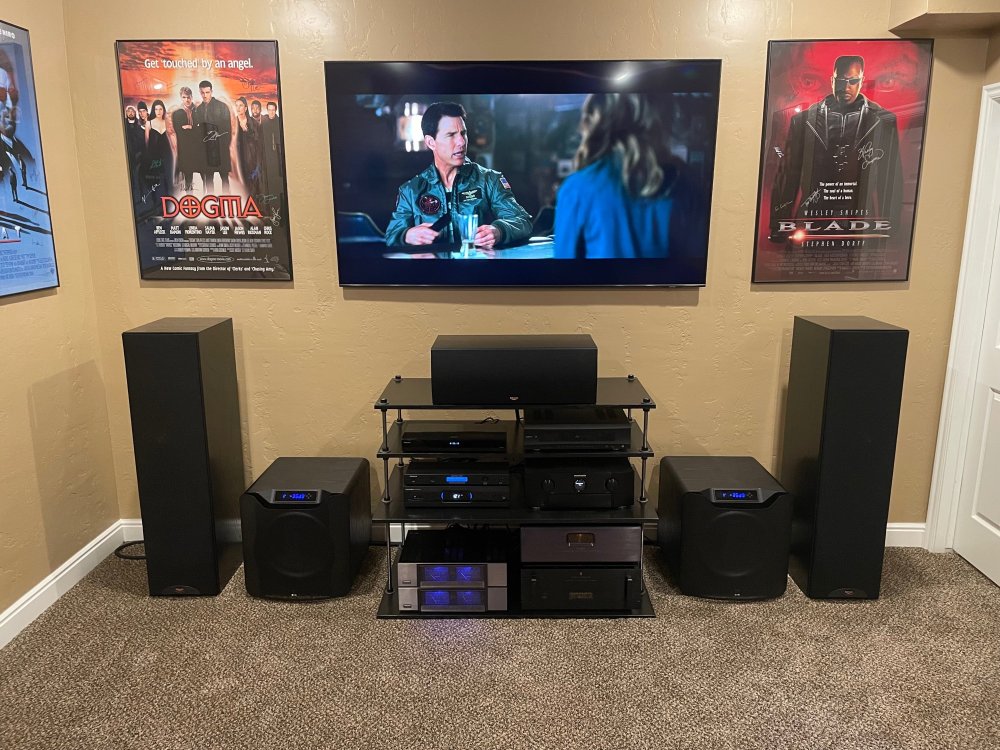
-
Sounds like the power supply caps have given out (not uncommon at this age). James ( @Retriever ) is very knowledgeable on these units.
-
The completed frame is quite light, allowing it to be positioned and mounted to the wall. Take care to make sure it is both level AND square when mounting! Once it is mounted, populate the shelves to the desired height. One of the only potential annoyances with this system is this: If a shelf is positioned such that the 1”x2” wall support is contacting the upper half of your media, it will allow for the bottom portion of your media to push in farther than the top, where it is contacting the 1”x2”. In this case, simply cut a spare 1x2 to the width of your shelf and lay it at the bottom/back of the shelf, so that the media contacts a 1x2 on the top and bottom. This shelf is for my growing 4k collection (and Atmos music). You can see below, my old 4k storage (far right of frame) was almost full. On the new shelving, I’m only about 1/2 full. Oh, and I already use one (1) of the two (2) extra shelves I built;-)


-
After the second coat of polyurethane has dried, a second steel wool treatment with fine (000 or 0000) and another tac cloth rub. Now that all the wood cutting and finishing is done, it’s time for construction. The key to the strength of this build lies here - the 1”x2” mounting boards are screwed into the notches in the vertical supports FROM THE BACK SIDE, before the unit is mounted to the wall, then the entire assembly (sans shelves) is mounted to the wall.


-
With sanding done, SWEEP UP YOUR WORK AREA! This will minimize kicking up dust and particles during the finishing process. I like to hit all surfaces with the air compressor to blow off as much dust as possible. This also gets dust out of the grain, which will really make the grain stand out when stained/finished. After the compressor treatment, a tac cloth is a good idea, right before finishing. For this project, I’m not using a stain, just a satin polyurethane finish. For a project like this, I just use a foam brush and toss it when done. Long strokes with the grain, and careful to avoid drips/sags… 24 hours (depending on temp/humidity - but if ANY tac remains, WAIT!) later, a good rubbing with semi-coarse steel wool is essential to smooth the wood down. DO NOT use steel wool if using a water-based finish!! After steel wool, tac cloth again and another coat of polyurethane.


-
Next is perhaps the most precise part of construction - the cutting of the 1”x2” notches in the vertical supports. It is critical that they be cut in the exact same place on all verticals supports being made for a continuous run, or it will be impossible to have level shelves. For these reasons, I stack the vertical supports and cut them at the same time. Next up is sanding. DO NOT skimp on sanding! It takes a bit of time, but few things can make or break a project quite like sanding (or lack thereof). I do a full pass with 120 on the random orbital, then a pass with the 1/3 sheet at 180, then a final pass with 220 on the 1/3 sheet. I like the random orbital on initial passes, but not for the final.


-
Next is cutting the individual shelves. In my case, I want 42” overall width, so subtracting the 3/4” (x2) for the side panels gives me 40.5”. Cut and build a couple more shelves than you think you’ll need! You already have everything out - just make a couple extras, as you never know what your future needs will be. You’ll thank me later. Also cut your 1”x2” to the overall width (42” for this one) and all the screen molding for the exposed edges. There are a couple different ways to mount the screen molding to the edges. Glue and clamp, clue and finish nail (with nail-set and wood putty), or glue and pin nail with an air nailer - this is the method I use.


- 16 replies
-
- 10
-

-

-
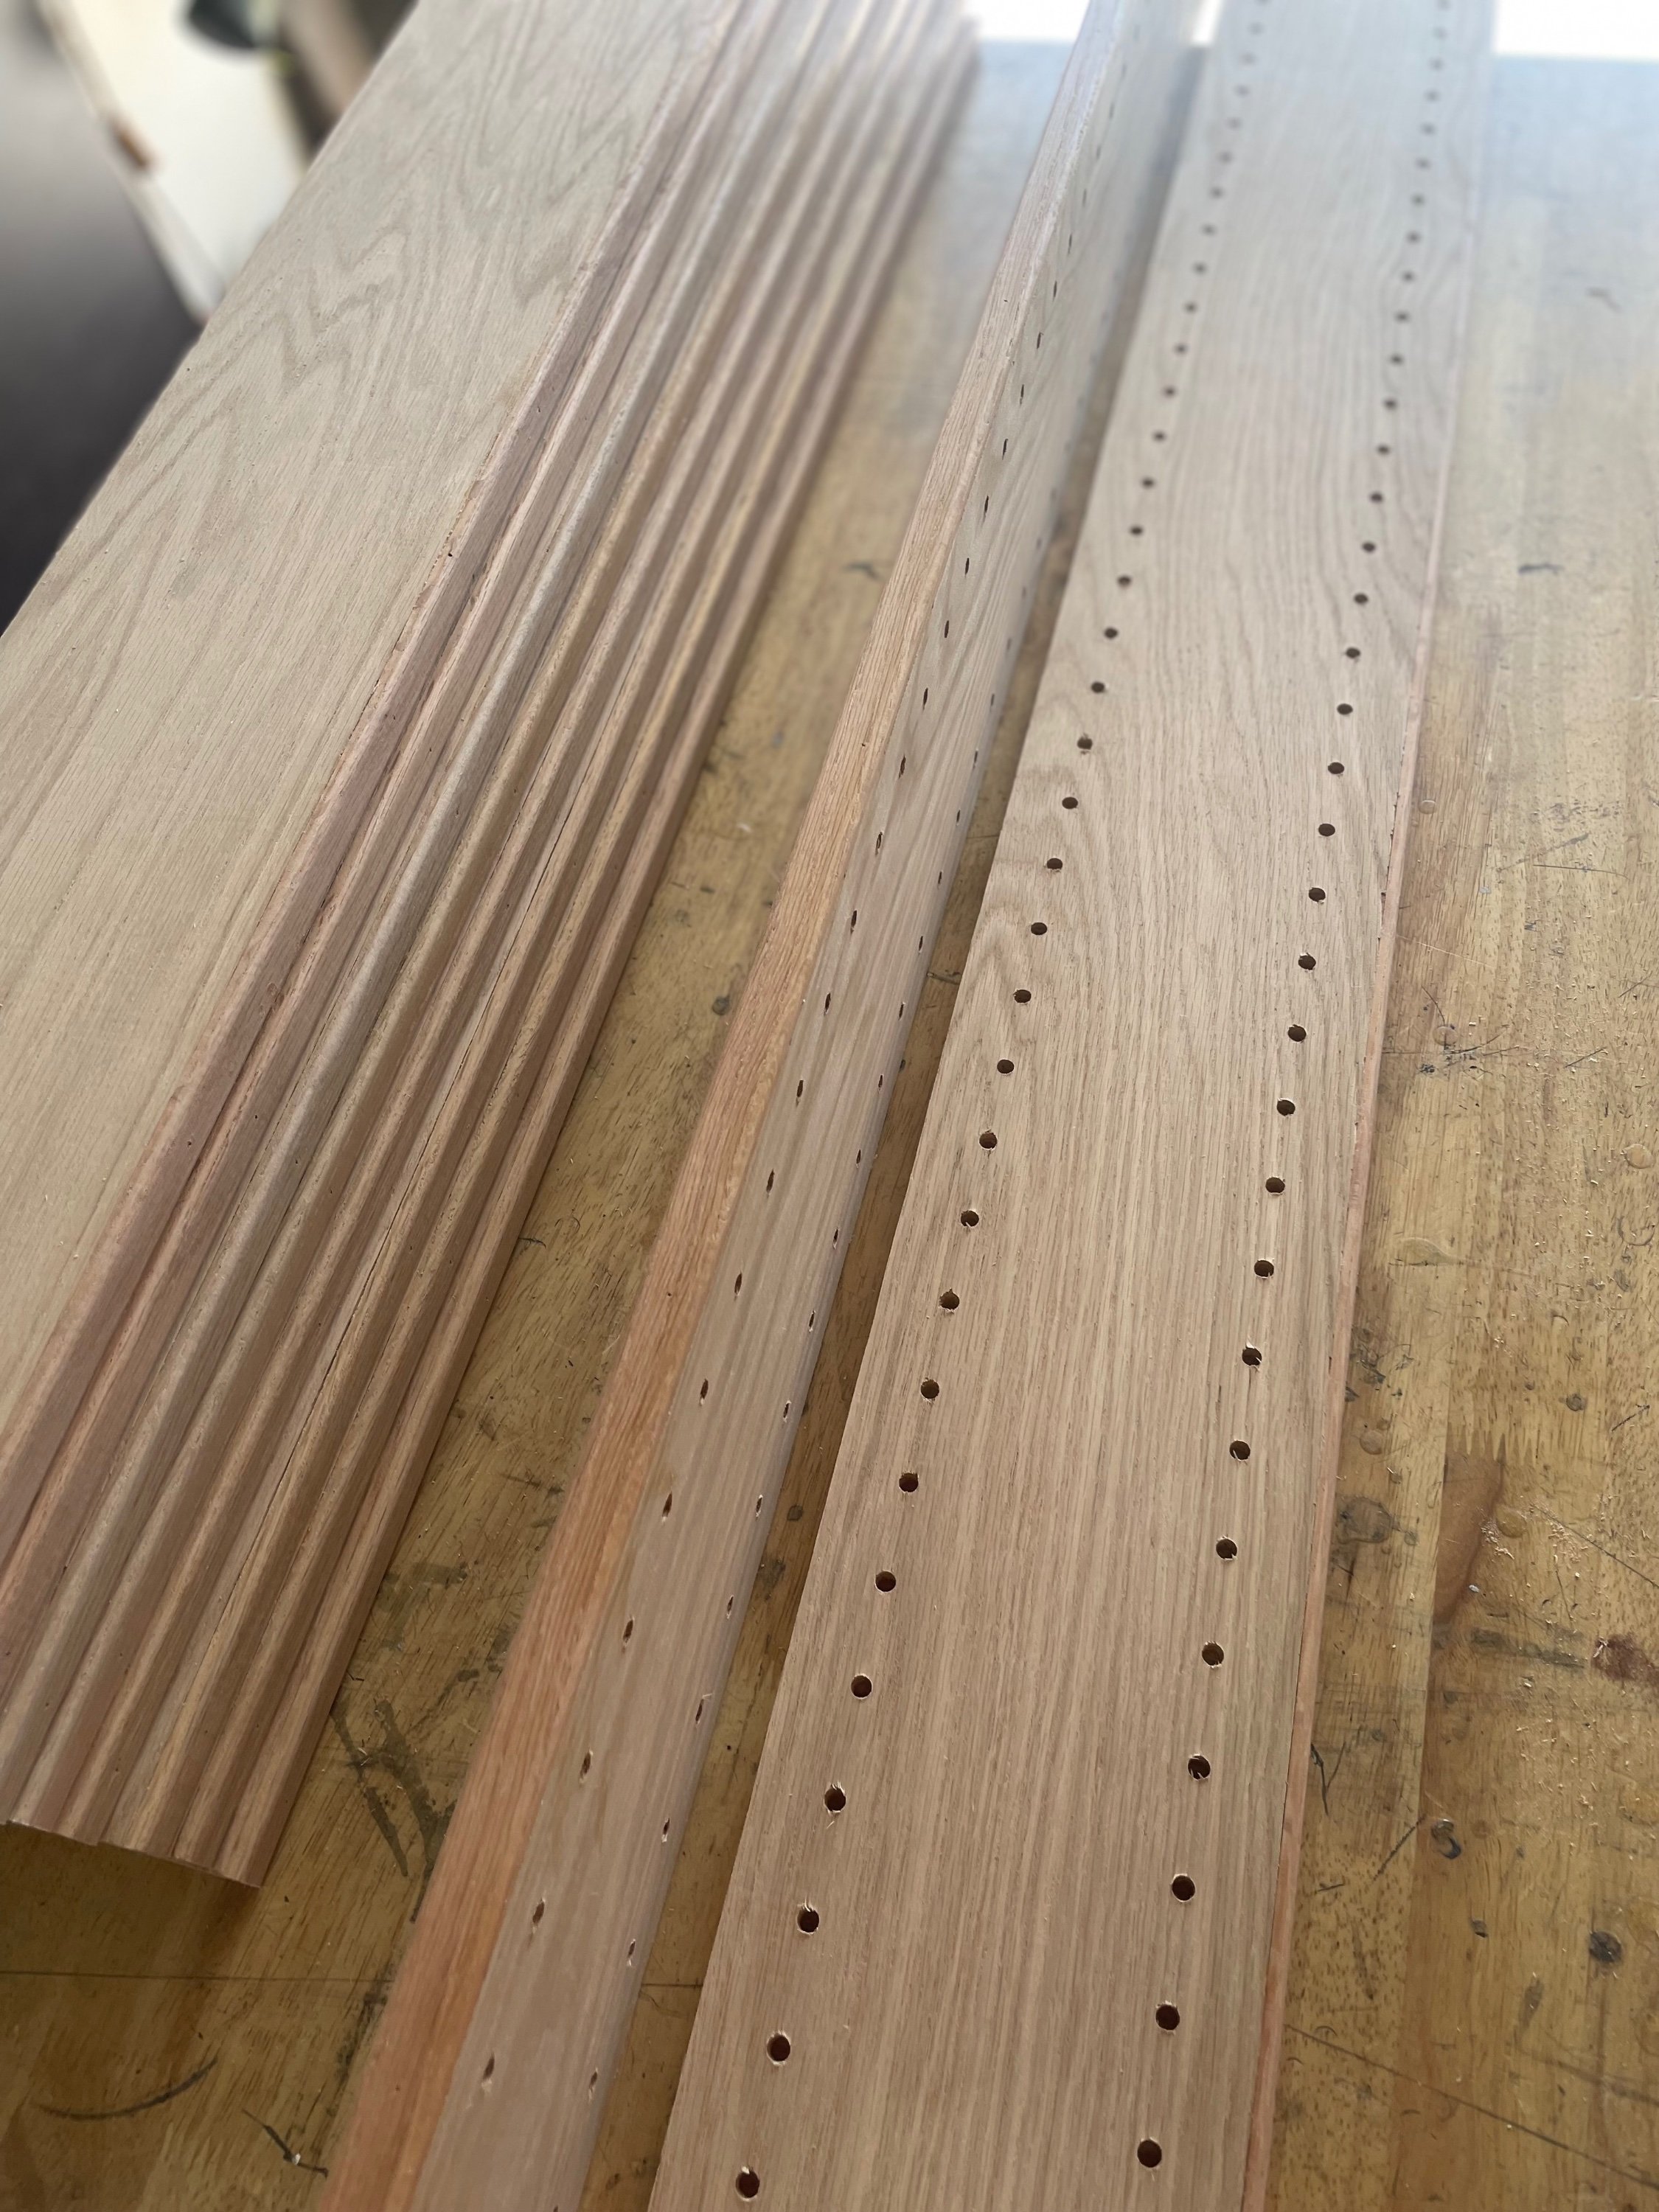
Work these two strips together and symmetrically, so that your shelves will be level. I mark the top of each, and start my holes at the exact same height. The bit included with the jig has an adjustable stop collar - set it to the correct depth and drill the starter hole at the top. Then position the jig with the included pin and drip the remaining holes. Move the jig down, place the pin and repeat. It’s not near as monotonous as it sounds, and it goes pretty fast.


-
Step one is to source a sheet of 3/4” oak plywood (or whatever wood you prefer), screen molding and 1”x2”. I must say, I was shocked at the increase in oak plywood pricing - last time I bought it I remember paying around $40 a sheet. No so any more - try $96 a sheet! Anyway, accounting for the 1/4” thickness of the screen molding on the edge, rip the plywood into 5.75” strips to achieve the 6” overall depth. Next, cut 2 (or more) of the strips to the overall height you desire for your shelving unit - in my case, for this unit I’m going with 60” (Al the other shelving in my room is 96”, or the full 8’). These will be the vertical or side supports. In order to make the shelving fully adjustable, these need to have a series of holes drilled for the shelf support pegs. These hole need to be perfectly spaced, drilled perfectly perpendicular, and be a perfect consistent depth on BOTH boards. Luckily, Kreg makes a jig for this that is quite affordable and easy to use…


-
About 15 years ago I ran out of space in the five (5) bookcases I was using for CD/DVD storage. I figured there had to be a better way, and after a bit of thinking, I came up with it. On-wall, only 6” deep, adjustable shelf height, and inexpensive and easy to build. With the expansion of my library into 4k discs, I am adding a 60”x42” chunk of the shelving In my current media room (6’ X 8’ walk in closet). I thought I’d document the construction process here, for anyone that may wish for a similar storage solution. The system itself consists of 1”x2” mounting rails (x2), and 6” strips of 3/4” oak plywood with screen molding to cover the edge for the vertical supports and the individual shelves. I’ve included a few photos below from my original build, but I’ll do a thorough step-by-step with the current build.


- 16 replies
-
- 11
-
-